How Long Does It Take to Paint Kitchen Cabinets: 15 Essential Tips for Timing, Prep, Drying & Perfect Finishing
Painting kitchen cabinets is one of the most transformative home upgrades you can do — but understanding the timing is just as important as choosing the right color or tools. Many homeowners wonder how long does it take to paint kitchen cabinets, because this project involves more than simply brushing on paint. There are essential steps like prep work, cleaning, sanding, priming, drying, and curing that determine the quality and longevity of the finish. Knowing the timing helps you plan your kitchen usage, organize your space, and avoid rushing a process that truly benefits from patience.
Each stage of cabinet painting builds on the last, and skipping or speeding through steps can lead to peeling, streaking, or uneven color. A well-planned kitchen cabinet painting timeline ensures the surface is properly cleaned, sanded, primed, and fully dried — giving your cabinets a smooth and durable finish that feels almost factory-fresh. Whether you’re doing a weekend DIY upgrade or scheduling a longer, more detailed refinishing process, understanding time requirements allows you to achieve a finish that looks intentional, polished, and professionally executed.
In this guide featuring 15 expert timing tips on how long it takes to paint kitchen cabinets, you’ll discover realistic timelines for cleaning, sanding, priming, painting, drying, and curing. Each tip offers clarity and insight, helping you estimate the full duration of your project with confidence. From beginners to experienced DIY painters, these timing guidelines ensure your kitchen refresh unfolds smoothly and beautifully.
1. Plan for a Full Project Timeline of 3–7 Days

Painting kitchen cabinets is not a one-day project. The full timeline typically ranges from three to seven days depending on the number of cabinets, drying time between coats, and your experience level. Removing doors, prepping surfaces, priming, painting, and letting everything cure properly requires steady pacing.
This timing creates the foundational understanding behind how long does it take to paint kitchen cabinets, giving you a realistic expectation of the effort involved. A multi-day timeline ensures you don’t rush crucial drying periods, helping your finish become smoother, tougher, and more professional-looking.
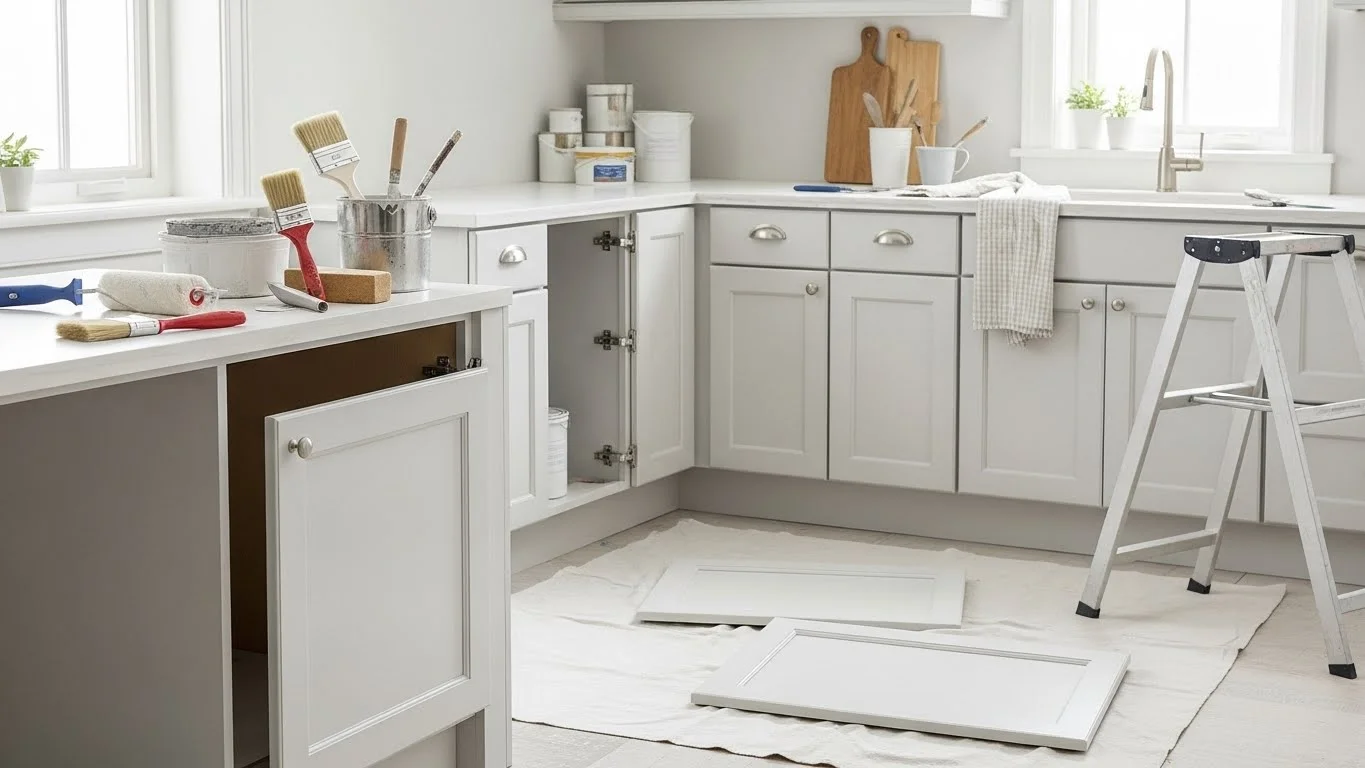
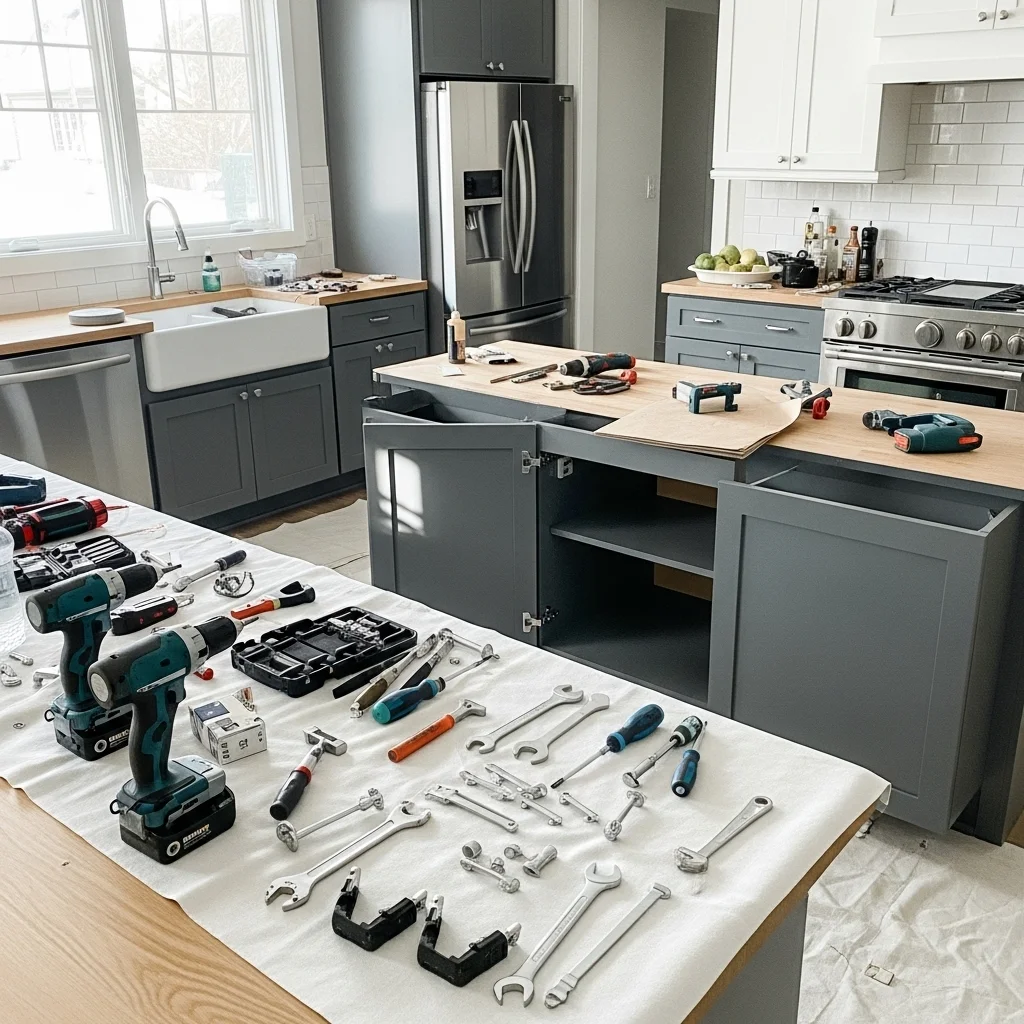
2. Set Aside 2–4 Hours for Cabinet Removal

Removing the cabinet doors, hinges, and hardware usually takes two to four hours depending on the size of your kitchen. Label every piece carefully to simplify reassembly later. This step may feel tedious, but it saves time during the final installation.
This preparation reflects the essential flow of kitchen cabinet painting timeline planning. Doors must be fully removed to paint surfaces evenly and avoid drips or brush marks. The time invested here makes the entire painting process cleaner and more efficient.
3. Allocate 2–3 Hours for Thorough Cleaning

Cabinets accumulate grease, oils, food residue, and dust — especially near the stove and sink. Proper cleaning with a degreaser is crucial before sanding or priming. Expect to spend two to three hours wiping down every surface, inside and out.
This stage highlights the importance of groundwork in DIY cabinet refinishing steps, ensuring your paint adheres smoothly. Clean surfaces reduce the risk of chipping and bubbling, giving your final finish strength and longevity.
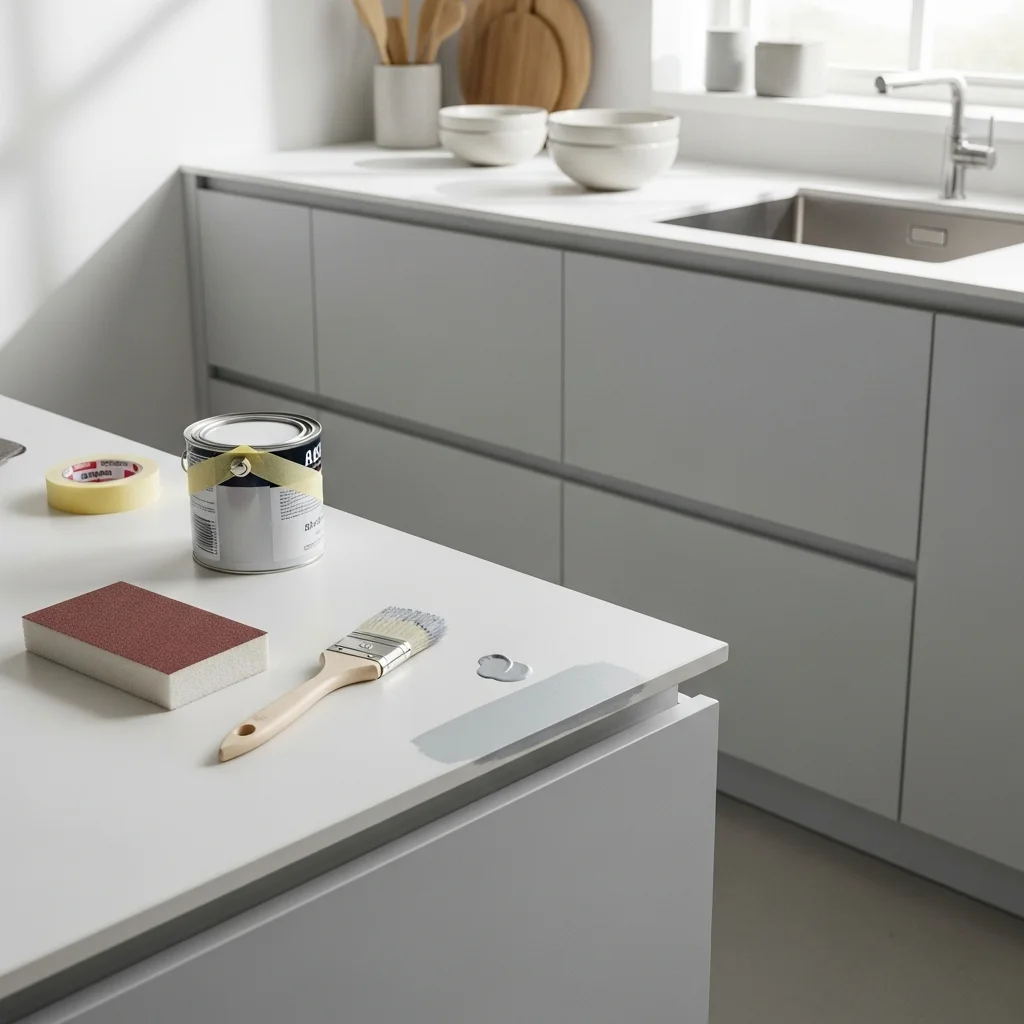
4. Add 3–5 Hours for Sanding and Surface Prep
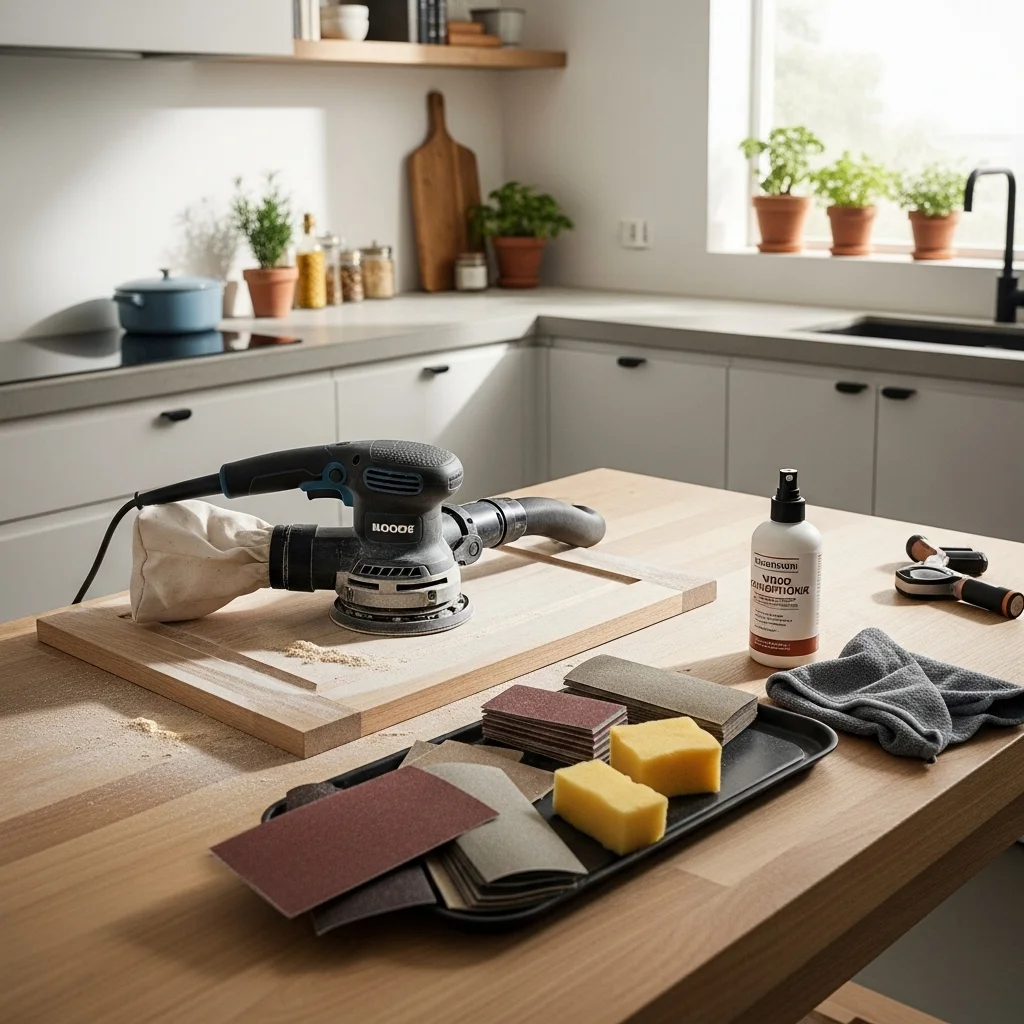
Sanding removes the glossy top layer, allowing primer and paint to bond better. Depending on the number of cabinets, sanding may take three to five hours or longer for heavily varnished surfaces. Taking your time ensures the texture is consistent.
This step reflects the tactile precision behind how long does it take to paint kitchen cabinets, because surface prep often takes more time than the painting itself. Smooth, evenly sanded cabinets create a beautifully even finish once paint is applied.
5. Expect 2–4 Hours for Priming
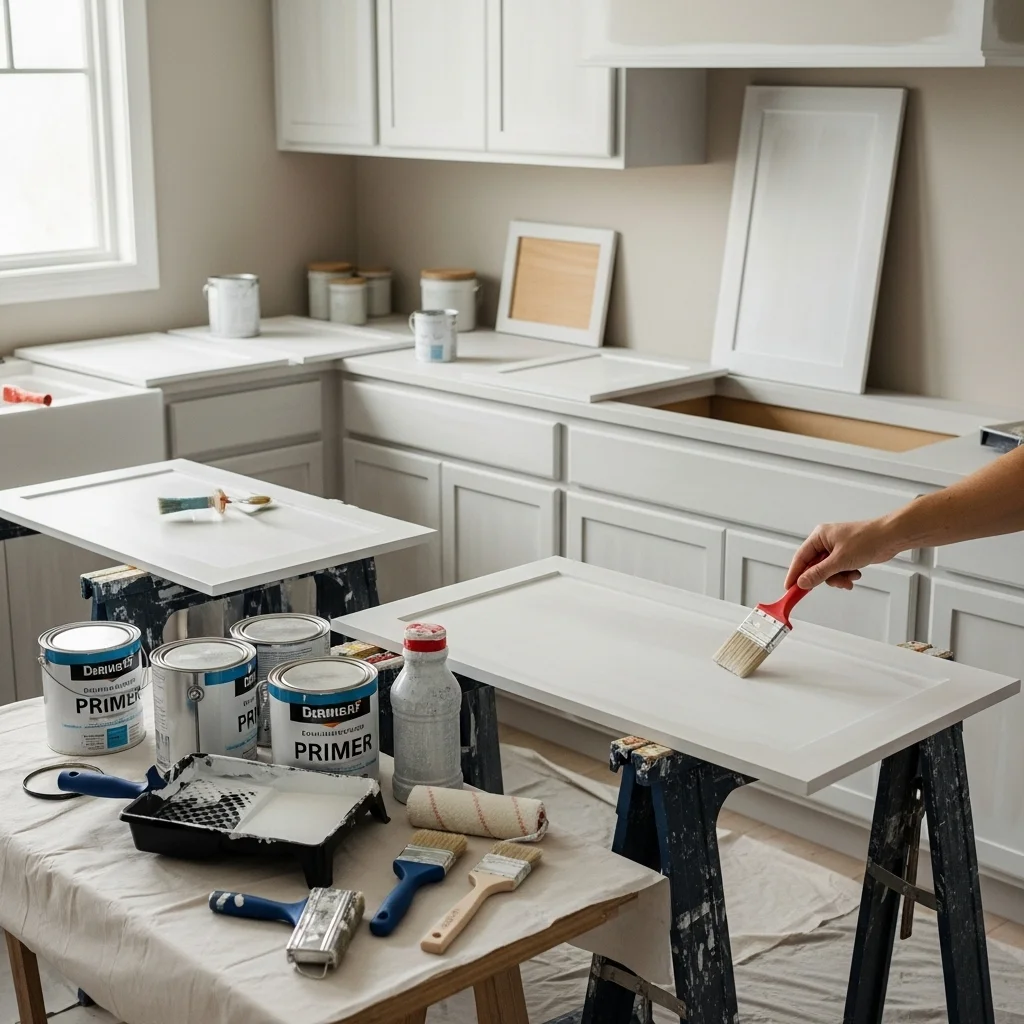
Applying primer evenly across doors, drawer fronts, and frames usually takes two to four hours. Primer is essential for stain blocking and ensuring the paint color sits smoothly. Let the primer dry fully before sanding lightly and adding paint.
This timing supports the structural strength of cabinet prep and drying time, because primer significantly improves adhesion and durability. Proper priming prevents blotchy or uneven paint, creating a flawless foundation.
6. Reserve 4–6 Hours for the First Coat of Paint
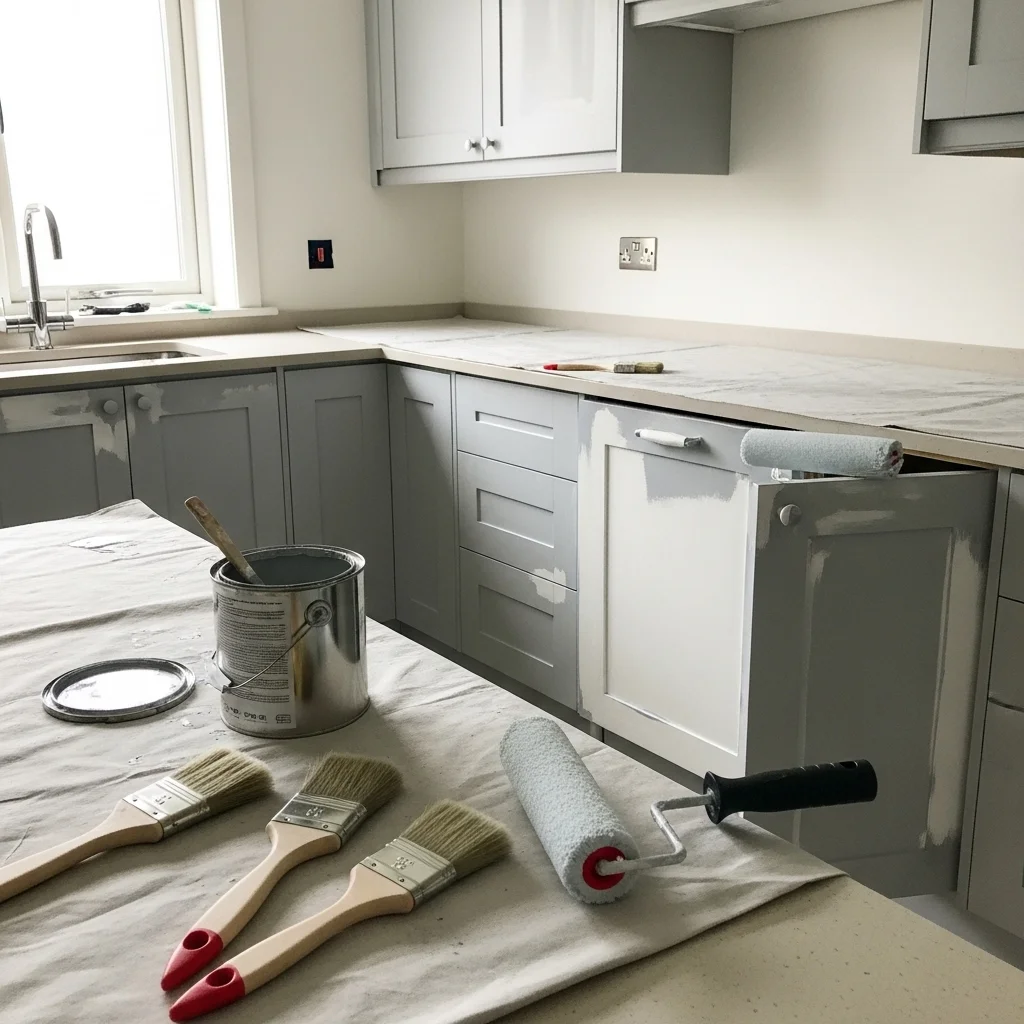
Painting the first coat requires slow, consistent strokes to avoid brush marks. Depending on your technique and cabinet quantity, the first coat may take four to six hours. Use a high-quality brush or sprayer for smoother coverage.
This stage supports the artistic clarity behind DIY cabinet refinishing steps, allowing the paint to form a smooth base layer. The first coat sets the tone for how polished and refined your final finish will appear.
7. Allow 24 Hours of Drying Time for Each Coat

Cabinet paint dries much slower than wall paint. Each coat — including primer — needs around 24 hours to dry completely. Rushing this step can cause tackiness, fingerprints, or peeling. Drying time varies depending on humidity and temperature.
This extended drying period is central to understanding how long does it take to paint kitchen cabinets, reinforcing the need for patience. True adhesion and durability come from proper drying, not speed.
Read also. 10 Ways to Make a Small Kitchen Look Bigger
8. Add 4–6 Hours for Second Coat Application

The second coat brings richness, saturation, and full color coverage. Painting this coat usually takes the same amount of time as the first — around four to six hours, depending on kitchen size. This coat completes the smooth, uniform finish.
This timing contributes to the cohesive flow of kitchen cabinet painting timeline guidelines. The second coat is what makes your cabinets look crisp, clean, and display-ready, so giving it enough time is essential.
9. Account for Final Touch-Ups (1–2 Hours)

Even with careful painting, small inconsistencies or missed spots may appear once the paint dries. Set aside one to two hours for touch-ups using a small brush. Look at the cabinets under multiple lighting angles to find imperfections.
This detail-oriented step represents the precision behind patching damaged paint and finishing techniques. Touch-ups elevate your project from “DIY” to genuinely polished, ensuring every surface feels cohesive and intentional.
10. Allow 48–72 Hours Before Reassembling Cabinets
Even after drying, paint needs additional time to set enough that it won’t smudge during handling. Waiting two to three days before reinstalling doors and hardware prevents accidental dents or fingerprints, which are difficult to repair later.
This waiting period aligns with the mindful pace behind cabinet prep and drying time, ensuring your work remains intact as the paint settles and strengthens. Taking this time helps preserve the smoothness and integrity of your finish.
11. Let the Paint Cure for 2–4 Weeks for Full Hardness
Even though paint may feel dry to the touch within 24 hours, curing is a much longer process. True hardness — the level that resists scratches, chips, and everyday kitchen wear — can take anywhere from two to four weeks. During this time, avoid placing heavy items against doors or slamming cabinets closed.
This curing period emphasizes the deeper science behind how long does it take to paint kitchen cabinets, showing that durability depends on patience as much as application. Allowing proper curing ensures your cabinets stay pristine, glossy, and resistant to damage in the long run, giving your paintwork the strength it deserves.
12. Factor in Extra Time for Humid or Cold Weather

Weather can dramatically affect drying and curing times. High humidity slows evaporation, while cold temperatures thicken paint and delay hardening. If your climate is humid, expect drying times to double. Using fans or dehumidifiers can shorten the wait, but results will still vary.
This step reflects the environmental awareness central to kitchen cabinet painting timeline planning. Understanding climate influences helps you create a smooth, even finish without rushing conditions that aren’t ideal. The more controlled the environment, the closer your results will resemble a professional factory finish.
13. Use a Paint Sprayer to Reduce Application Time
While brushes and rollers create beautiful results, sprayers can dramatically speed up your painting process. A sprayer allows for fast, even coats in less time — often cutting application time in half. However, prep work remains the same. You’ll still need to clean, sand, remove doors, and prime before spraying begins.
This technique embodies the time-efficiency side of DIY cabinet refinishing steps, helping you balance speed with quality. Sprayers create smooth, professional-looking finishes when used correctly, making the entire project feel less labor intensive while still delivering beautiful results.
14. Add Buffer Time for Mistakes or Redos
Even experienced DIY painters encounter challenges — drips, uneven brush marks, dust settling on wet paint, or unexpected blemishes may require sanding and repainting. Build an extra half-day into your schedule to handle minor fixes without stress.
This thoughtful buffer honors the real-world flow behind paint curing process and refinement. Edits and touch-ups are part of craftsmanship, and leaving time for them ensures your cabinets look clean, consistent, and fully intentional once the project is complete.
15. Expect Full Project Completion in 1–2 Weeks
When all steps, drying periods, environmental factors, and reassembly are combined, most homeowners complete their project in one to two weeks. While the active painting time is only a few hours per day, the drying and curing periods extend the project length significantly.
This final tip summarizes the essential pacing behind how long does it take to paint kitchen cabinets, reminding you that a slower, methodical process results in a beautifully smooth, long-lasting finish. Patience transforms your cabinets from ordinary to elegant, creating a refresh that feels thoughtful and professionally executed.
Final Thoughts
Painting kitchen cabinets is a commitment of time, care, and precision — but the results are one of the most satisfying upgrades you can bring to your home. These kitchen cabinet painting timeline insights and timing tips reveal why the process requires patience, layering, and careful handling. When you honor each stage — from prep to curing — your cabinets gain a richness and smoothness that feels luxurious, durable, and deeply intentional.
The true beauty of cabinet painting lies in how it transforms the energy of your kitchen. What begins as a practical renovation becomes an artistic, calming experience rooted in craftsmanship. With every sanding stroke, every carefully dried coat, and every moment of waiting for the paint to cure, your space becomes more aligned with your vision. This intentional pacing is what shapes cabinetry that not only looks beautiful but holds up with grace for years.
By following these detailed steps and respecting the full timeline, you ensure your cabinets evolve into a polished, cohesive part of your kitchen — one that feels fresh, inspiring, and delightfully renewed. Painting becomes a journey that rewards patience with beauty.
FAQs About Painting Kitchen Cabinets
Q1: What’s the fastest time you can paint kitchen cabinets?
With minimal drying time, the absolute fastest is 2–3 days, but this risks durability. A week is far more realistic for long-term quality.
Q2: Can I skip sanding to save time?
Skipping sanding often leads to peeling and poor adhesion. Even a light scuff-sand significantly improves results.
Q3: Do I really need to remove the cabinet doors?
Yes — painting doors in place creates drips, uneven edges, and missed spots. Removing them ensures a professional finish.
Q4: Can I cook in my kitchen during cabinet painting?
Yes, but avoid steam, grease, and humidity near wet paint. Light use is fine, but full cooking may slow the drying process.
Q5: What paint finish is best for cabinets?
Semi-gloss and satin finishes are durable, easy to clean, and resistant to moisture — ideal for busy kitchens.