How to Clean Grout on Tile Floors: Tile Cleaning Tips for a Sparkling Home

Even the cleanest tile floors can look dull if the grout between them is dirty. Over time, grout collects dust, soap scum, and spills that create stubborn stains. Learning how to clean grout on tile floors properly is the key to restoring your floor’s original shine and freshness. The best part? You don’t always need harsh chemicals — just the right technique and consistency.
Grout, being porous, easily traps dirt and moisture, making it the trickiest part of floor maintenance. But with a few reliable tile cleaning tips and household ingredients, you can tackle even years of buildup. Whether it’s bathroom, kitchen, or hallway tiles, clean grout transforms the whole room from grimy to gleaming.
This guide will walk you through professional methods, DIY solutions, and preventative habits to keep your grout white, clean, and mold-free — a must-know for every home lover who values spotless floors.
1. Start by Sweeping and Vacuuming
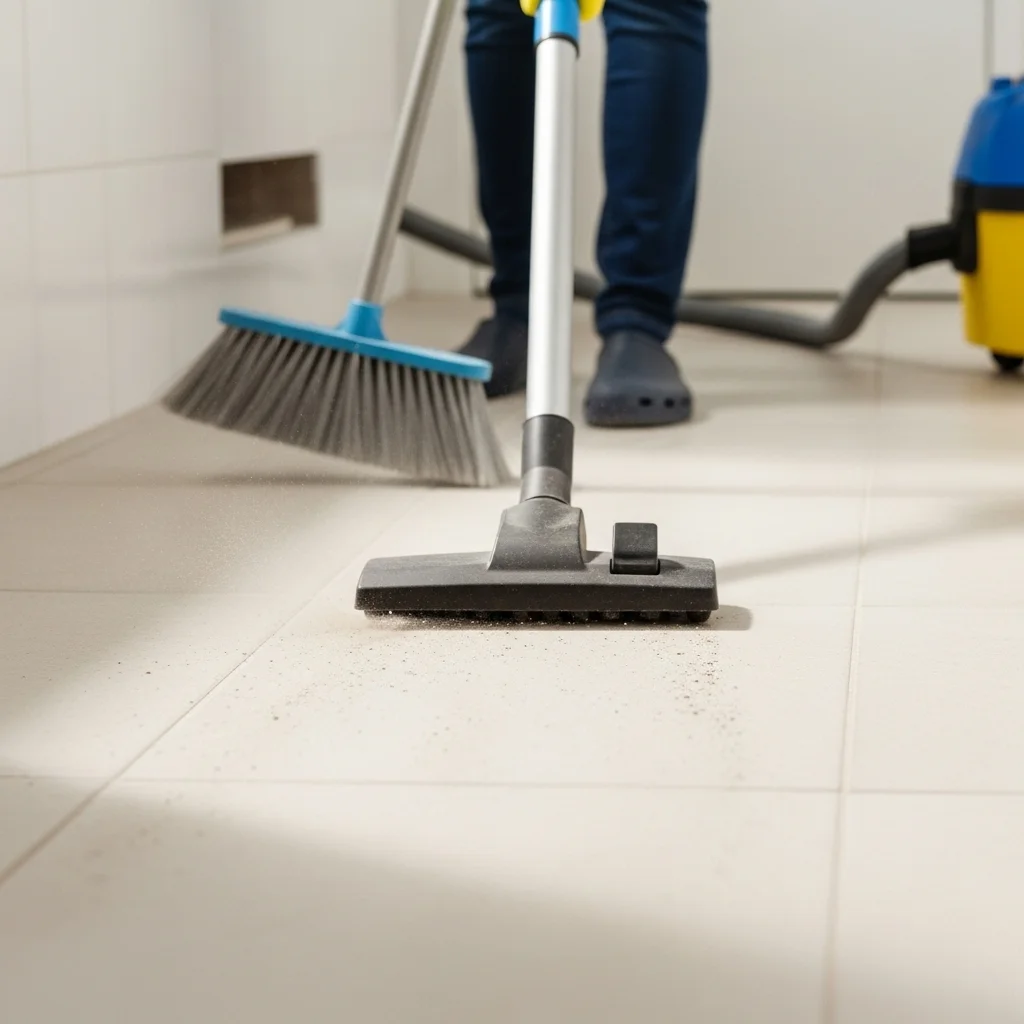
Before cleaning grout, always remove surface dust and debris. Sweep or vacuum thoroughly so dirt doesn’t grind into the grout during scrubbing. This helps your cleaning solution penetrate better and prevents scratches on tile surfaces.
If your grout is near baseboards or furniture legs, use a handheld vacuum attachment to reach corners. A clean base surface sets the stage for a more effective grout maintenance guide routine.
2. Mix a Simple Cleaning Solution

You don’t need fancy products to get the job done. Combine 1 part baking soda with 2 parts water to form a paste. For stronger stains, mix baking soda with hydrogen peroxide instead. Both are gentle yet effective on most tiles.
This homemade cleaning solution is eco-friendly, affordable, and safe for everyday use. It breaks down dirt and whitens grout without damaging your tiles — a win-win for every homeowner.
3. Apply the Mixture to the Grout Lines

Spread the paste evenly along the grout lines using an old toothbrush or small scrubbing brush. Let it sit for about 10–15 minutes so the ingredients can lift dirt and stains from the grout pores.
During this time, the baking soda and peroxide combination works like a natural bleach, loosening grime and killing bacteria. Patience here pays off with noticeably brighter grout lines.
4. Scrub with a Stiff Brush
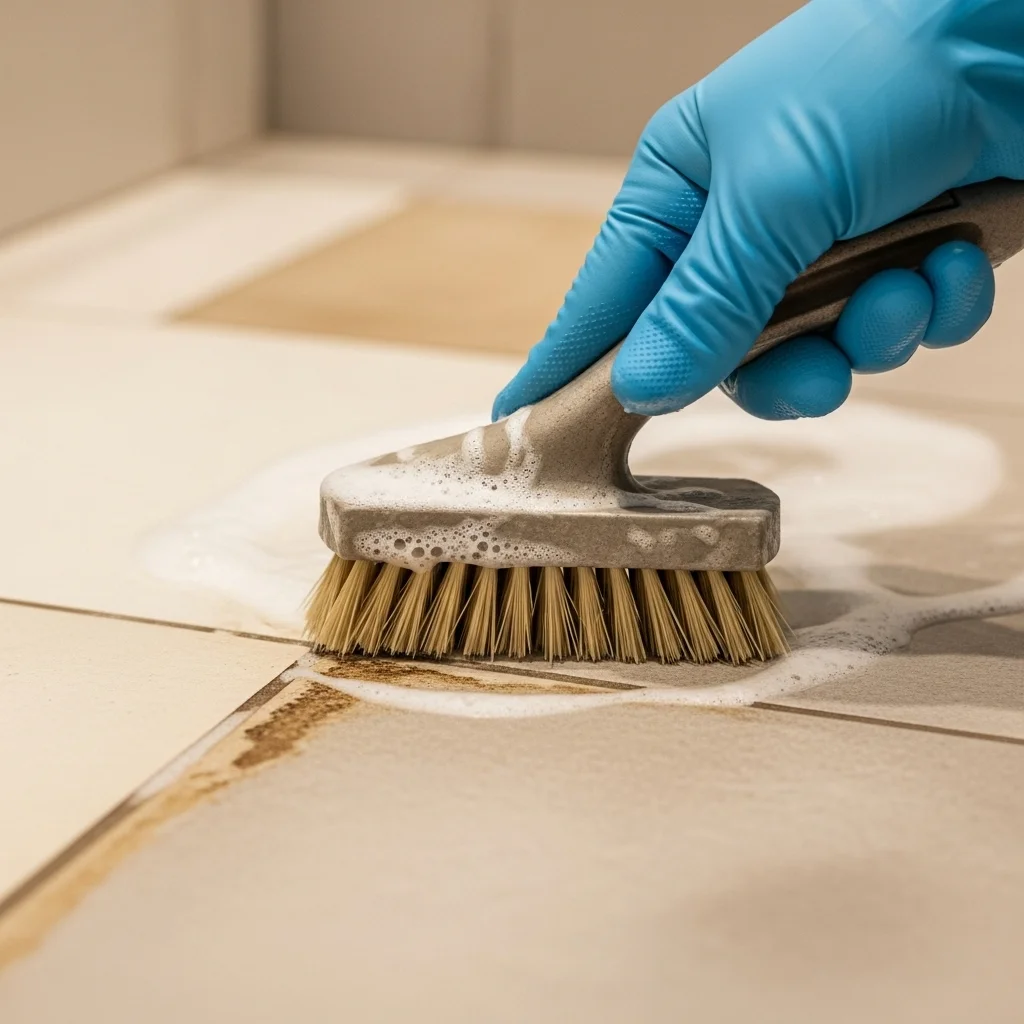
After letting the cleaner sit, scrub the grout firmly in circular motions. Use a nylon brush instead of metal bristles to avoid scratching the tile surface. For stubborn areas, apply more pressure or another round of paste.
Scrubbing activates the cleaner’s power and helps lift deep-seated stains. This simple step transforms dull tiles into shining floors — a vital part of deep cleaning tile floors effectively.
5. Rinse with Warm Water

Once you’ve scrubbed the grout thoroughly, rinse the floor with warm water to remove all residue. Wipe with a clean mop or cloth to ensure no baking soda or dirt remains.
Rinsing also restores the tile’s natural finish, preventing streaks or dull spots. It’s the refresh your floor needs after a thorough scrub-down.
Read also. 20 Bathroom Lighting Ideas
6. Tackle Stubborn or Moldy Grout

For deeply stained or moldy areas, use equal parts vinegar and warm water in a spray bottle. Spray directly onto the grout and let it sit for 10 minutes. Vinegar’s acidity breaks down buildup and kills mold naturally.
If you have marble or stone tiles, skip vinegar — it can erode the surface. In those cases, stick with gentle cleaners approved for natural stone to avoid preventing mold and stains at the expense of your finish.
7. Try a Steam Cleaner for Deep Cleaning

Steam cleaners are an excellent tool for sanitizing grout without chemicals. The high temperature dissolves grime and kills bacteria instantly. Move the nozzle slowly along each grout line for best results.
Steam cleaning not only cleans but also rejuvenates tile color, making this a great option for busy households. It’s one of the most efficient techniques in modern tile cleaning tips.
8. Dry the Floor Thoroughly

After cleaning, make sure your floor is completely dry. Use a microfiber mop or towel to absorb remaining moisture. Standing water can lead to mildew, especially in bathroom areas.
Proper drying ensures long-term cleanliness and helps maintain grout color. This quick habit supports every grout maintenance guide for lasting results.
9. Seal the Grout for Long-Term Protection

Once your grout is clean and dry, apply a grout sealer to prevent future staining. A clear, penetrating sealer protects against water, oils, and dirt while preserving your grout’s natural tone.
Apply it evenly with a sponge or brush, let it cure for 24 hours, and avoid walking on it during that time. Sealing once or twice a year keeps your grout spotless and low-maintenance.
10. Maintain Clean Grout Regularly

The best way to avoid deep cleaning sessions is through consistent maintenance. Wipe tile floors weekly with a mild detergent and warm water. For kitchens and bathrooms, use a gentle scrub on grout once a month.
Regular cleaning prevents buildup and mold, making each wash easier than the last. Adopting these tile cleaning tips ensures your floors stay as beautiful as the day they were installed.
11. Avoid Common Cleaning Mistakes
Never mix bleach and vinegar — the combination creates toxic fumes. Also, avoid colored cleaners on light grout as they can stain. Use pH-balanced products for sensitive tiles like marble or travertine.
These small precautions keep your floors safe and your cleaning routine effective — a must-know in every grout maintenance guide.
12. Keep Air Circulating During and After Cleaning

Good airflow helps grout dry quickly and prevents moisture buildup. Open windows or run fans while cleaning and for an hour afterward.
This small step is especially crucial for bathrooms and laundry rooms, where humidity often leads to mold. Maintaining airflow supports both cleanliness and preventing mold and stains naturally.
13. Refresh with Essential Oils (Optional)
For a pleasant finishing touch, add a few drops of tea tree or lemon essential oil to your rinse water. These oils add a natural scent and have mild antibacterial properties.
It’s a simple way to make cleaning more enjoyable while keeping your floors smelling clean and fresh — a nice extra in your homemade cleaning solutions toolkit.
14. Use Gentle Tools for Regular Maintenance

For daily upkeep, a damp mop or soft sponge is all you need. Avoid abrasive scrubbers that can scratch tile glaze or pull grout loose.
Consistency is better than intensity. Gentle cleaning every few days keeps dirt from settling deep, saving you from heavy scrubbing later.
15. Schedule a Deep Clean Every Few Months
Even with regular upkeep, grout needs a thorough deep clean every three to six months. This removes buildup invisible to the eye and resets your floor’s shine.
Scheduling it seasonally helps maintain hygiene and visual appeal — the final touch in mastering how to clean grout on tile floors effectively.
Final Thoughts
Clean grout can make your entire home feel brighter, newer, and fresher. With the right tools, timing, and gentle ingredients, maintaining tile floors doesn’t have to be hard. By combining consistent upkeep with the occasional deep clean, you’ll extend your grout’s lifespan and beauty.
From baking soda pastes to steam cleaning, each step in these tile cleaning tips helps you achieve spotless results with minimal effort. And remember — sealing and regular maintenance are the secret to never facing grimy grout again.