How to Fix Paint Chips on Wall: 15 Expert Tips for Smooth, Clean, and Professional-Quality Results at Home
Chipped paint may seem like a small inconvenience at first, but it can quickly make even the most beautiful room look worn, neglected, or unfinished. Learning how to fix paint chips on wall surfaces correctly allows you to restore smoothness, freshness, and visual harmony without needing a full professional repaint. Whether the chips were caused by humidity, aging paint, furniture scuffs, or daily wear and tear, a thoughtful repair process helps bring your walls back to life with renewed clarity and balance.
Repairing chipped paint is one of those home improvement tasks where patience and precision pay off. The goal is not just to cover the flaw but to rebuild the surface so it blends seamlessly with the rest of the wall. With the right materials, gentle sanding, proper patching, and clean paint application, you can transform damaged spots into beautifully smooth surfaces again. These techniques bring comfort and order back into your space, making your walls feel cared for, intentional, and visually calm.
In this guide featuring 15 expert tips on how to fix paint chips on wall surfaces, you’ll learn step-by-step methods that combine practicality, craftsmanship, and consistency. Each tip offers detailed insights to help you handle chips of all sizes — from tiny speckles to deeper cracks — so your walls look polished, cohesive, and professionally finished.
1. Start by Cleaning the Damaged Area
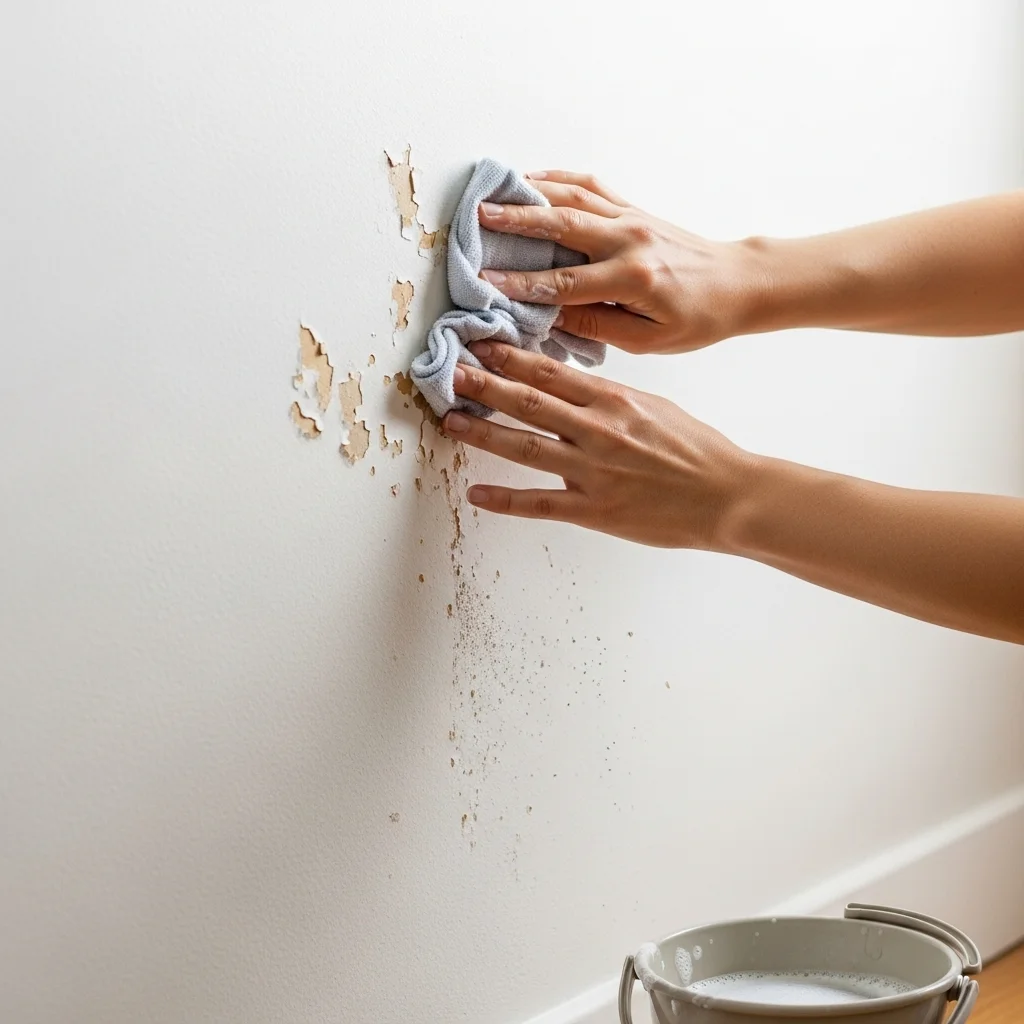
Before any repair work begins, gently clean the chipped section using a damp cloth or mild soap solution. Dirt, oils, and dust can prevent fillers or paint from adhering properly, so this initial cleaning step is essential. Make sure the wall fully dries before moving on to sanding or priming.
This approach reflects the mindful foundation behind repairing chipped paint, ensuring every step builds upon a clean, stable surface. A clean area allows the repair materials to bond more effectively, creating long-lasting, smooth results that blend effortlessly with the rest of the wall.
2. Gently Sand the Edges Around the Chip
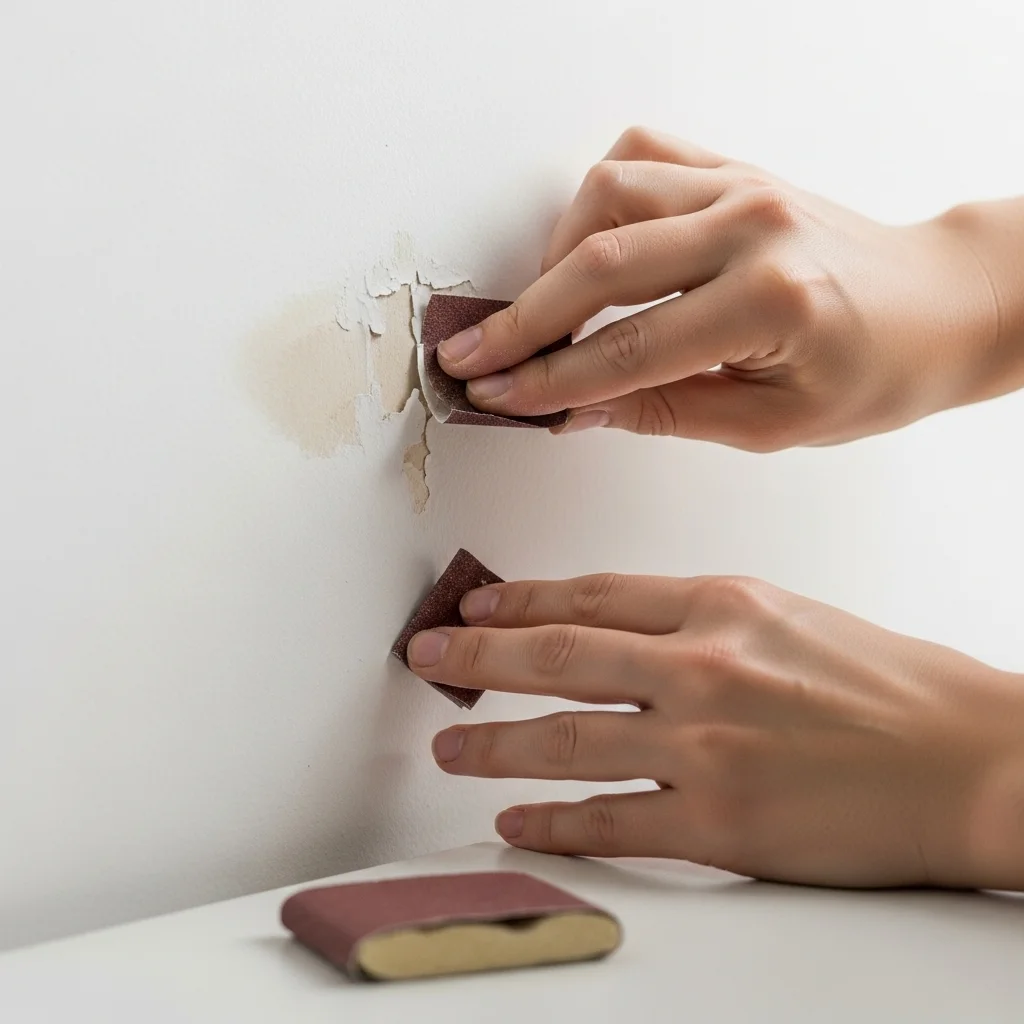
Use fine-grit sandpaper to smooth the jagged edges surrounding the chipped area. Sand lightly to feather the edges so the transition between the damaged and intact paint becomes subtle. Avoid sanding too aggressively, which may widen the damaged spot unnecessarily.
This gentle sanding technique supports the precision needed in DIY wall repair techniques, helping the repaired section disappear into the wall instead of standing out. By smoothing the edges first, you create a foundation that makes the final paint application blend naturally.
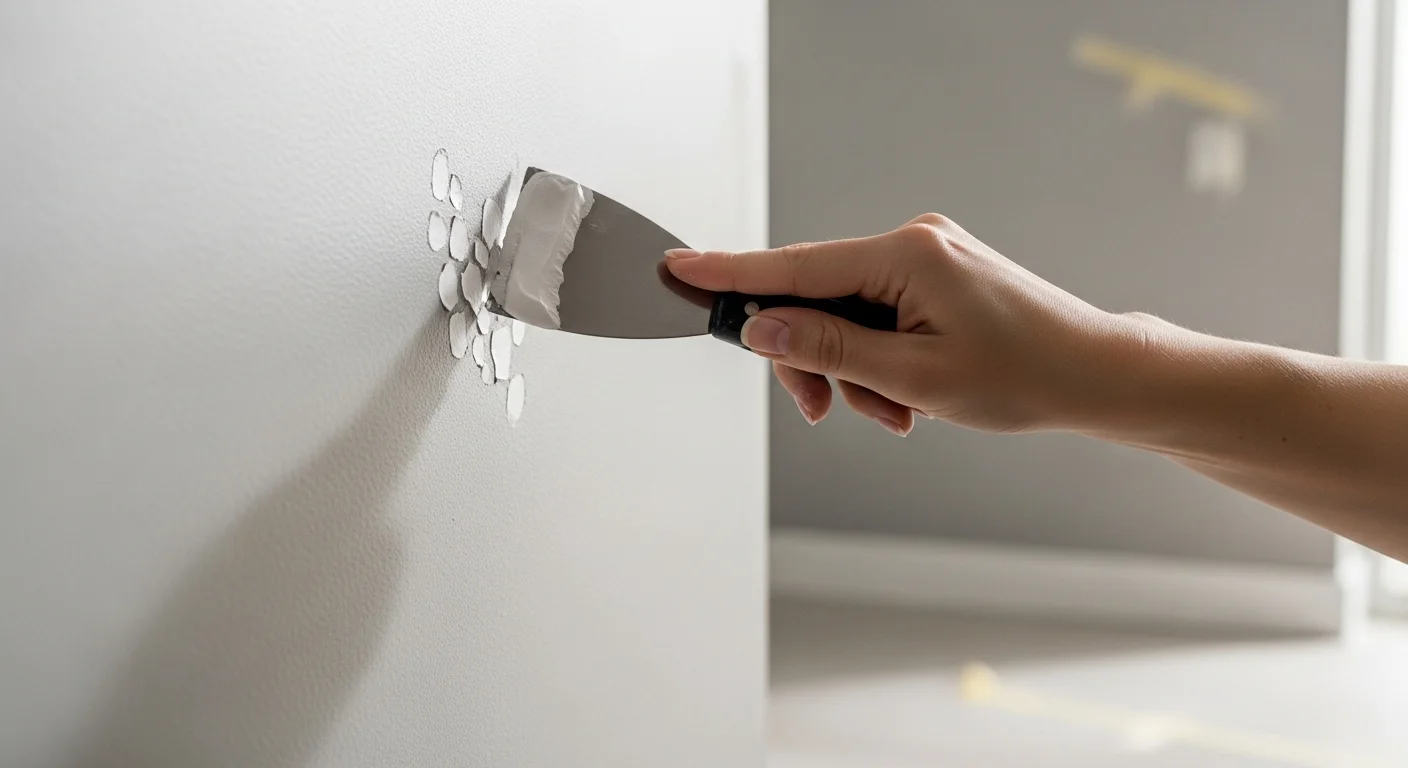
3. Remove Loose Paint Completely
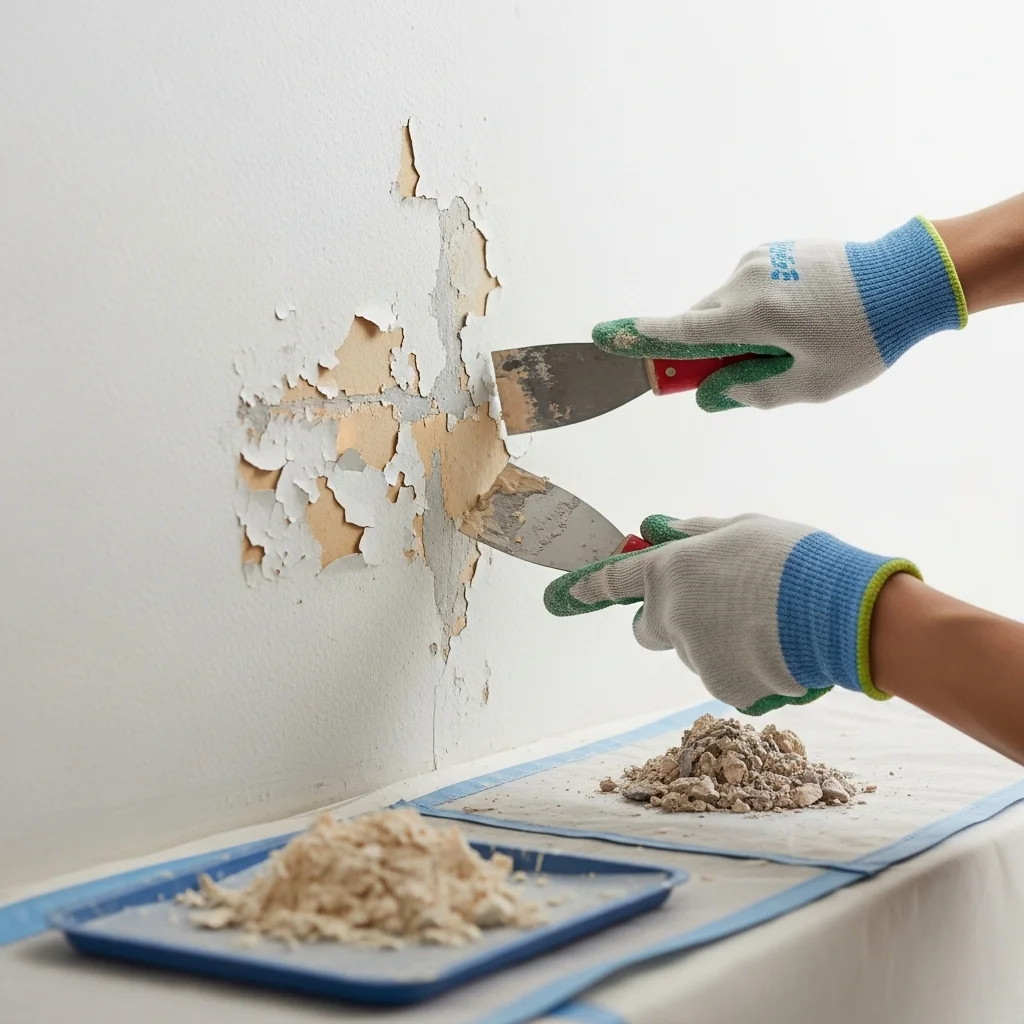
Any loose or bubbling paint should be removed before patching. Use a putty knife or paint scraper to carefully lift away weak, peeling sections. Removing loose pieces prevents future chipping and ensures your repair remains stable.
This step emphasizes the structural integrity required in how to fix paint chips on wall surfaces, preserving strength and preventing long-term problems. A wall free of loose fragments creates a clean base where fillers and paint can adhere evenly and securely.
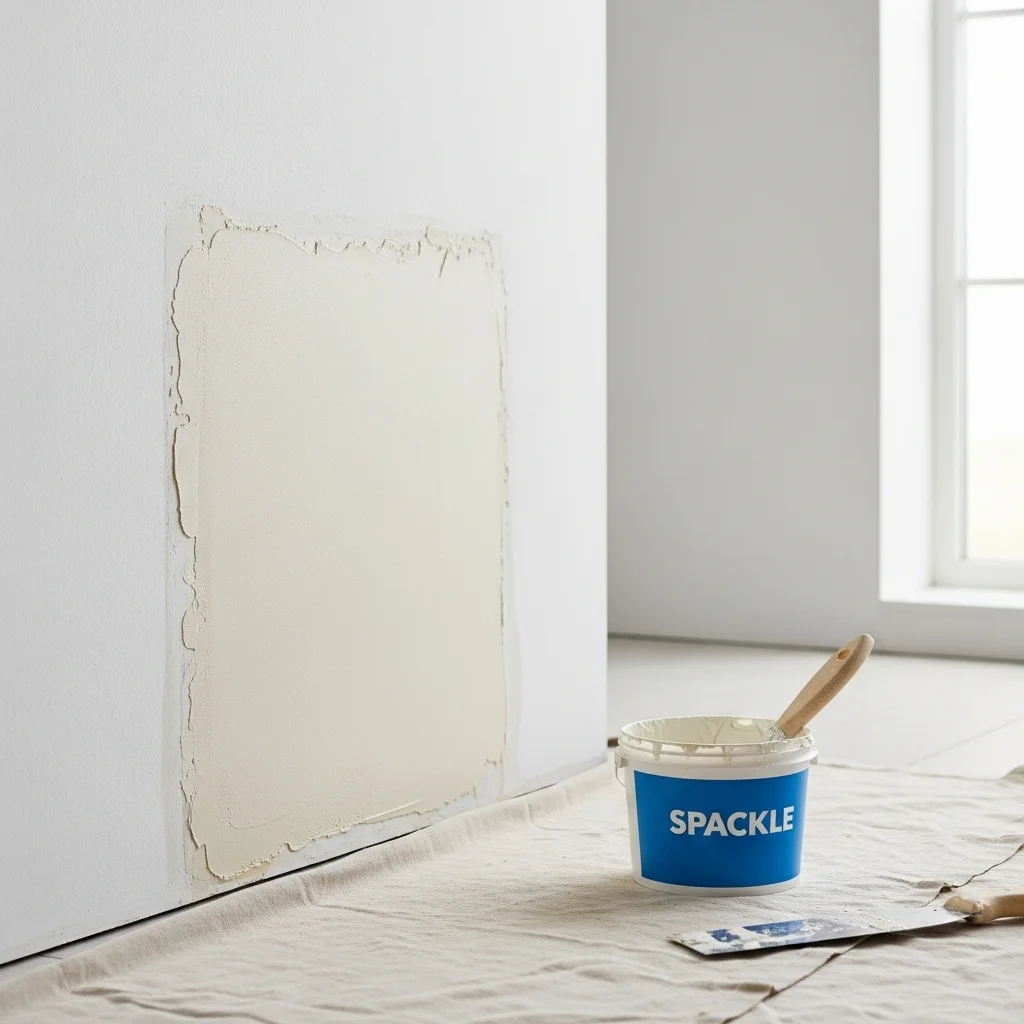
4. Apply Lightweight Spackle or Wall Filler
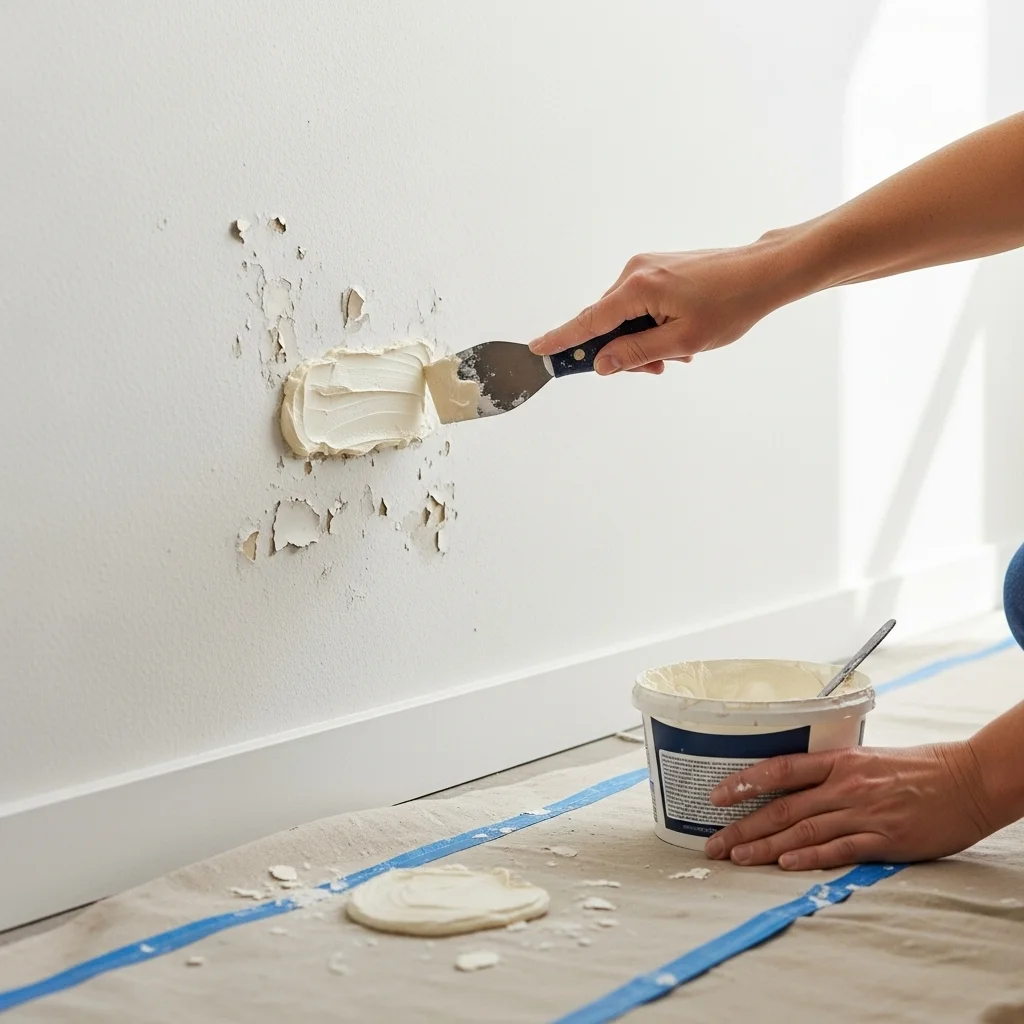
Once the area is prepped, use lightweight spackle to fill the chipped section. Apply the filler with a putty knife, pressing gently so it fills the indentation smoothly. Avoid over-applying; a thin, even layer works best and is easier to sand once dry.
This process reflects the craftsmanship central to patching damaged paint, restoring surface uniformity with a material designed for durability and smooth blending. Spackle recreates the original wall texture, making the repair feel natural and precise.
5. Smooth the Surface With a Putty Knife
While the spackle is still wet, glide your putty knife over the area to even out the surface. Aim to create a finish as flat as possible to reduce sanding time later. Wipe off excess spackle to keep the area clean and efficient.
This technique enhances the subtle artistry behind wall surface preparation, encouraging clean edges and seamless integration. The smoother the surface at this stage, the more flawless the final painted finish will become.
6. Allow the Spackle to Dry Completely

Drying time is crucial. Rushing this step can cause dents, streaks, or uneven paint application later. Follow the manufacturer’s recommended drying time — typically a few hours. For deeper chips, drying may take longer.
This mindful patience aligns with the intentional flow of DIY wall repair techniques, where taking time ensures stability and beauty. Allowing the filler to dry fully guarantees that your repairs remain strong and consistent beneath the paint.
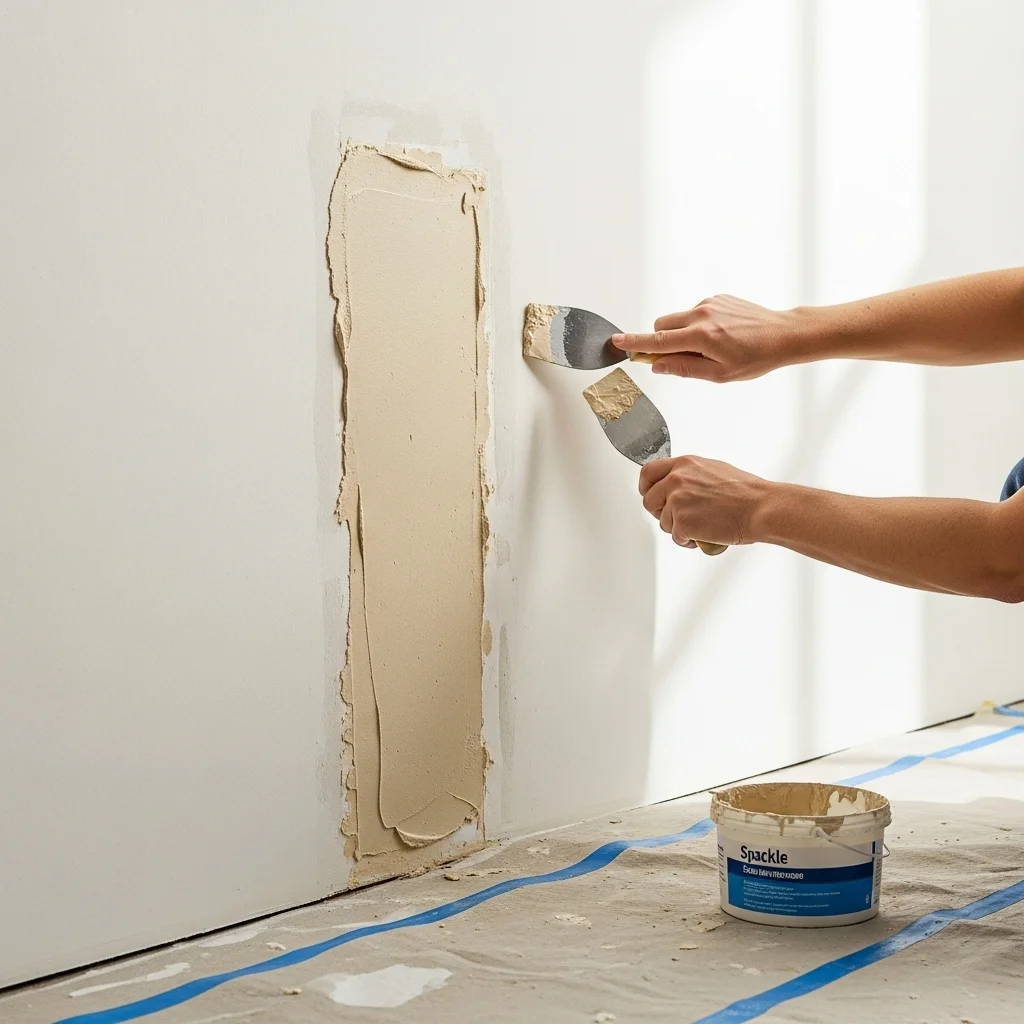
7. Sand the Repaired Area Until Smooth
Use fine-grit sandpaper to sand the dried filler until it blends perfectly with the surrounding wall. The goal is to achieve a smooth, unified surface with no visible ridges or indentations. Wipe away dust with a microfiber cloth afterward.
This step defines the tactile precision behind repairing chipped paint, transforming rough patches into flawless surfaces. Smoothness ensures your paint coats glide seamlessly, leaving no trace of the original damage.
8. Prime the Repaired Spot Before Painting

Primer is essential for helping the new paint adhere, preventing flash spots, and ensuring color consistency. Use a small brush to apply primer directly over the repaired area. Let it dry fully before adding paint.
This idea reinforces the foundational importance of wall surface preparation, helping the final result look clean, even, and professionally finished. Primer creates a barrier that equalizes the repaired spot with the rest of the wall.
Read also. 20 Funky Wall Paint Ideas for Bold
9. Use the Exact Same Paint Type and Finish
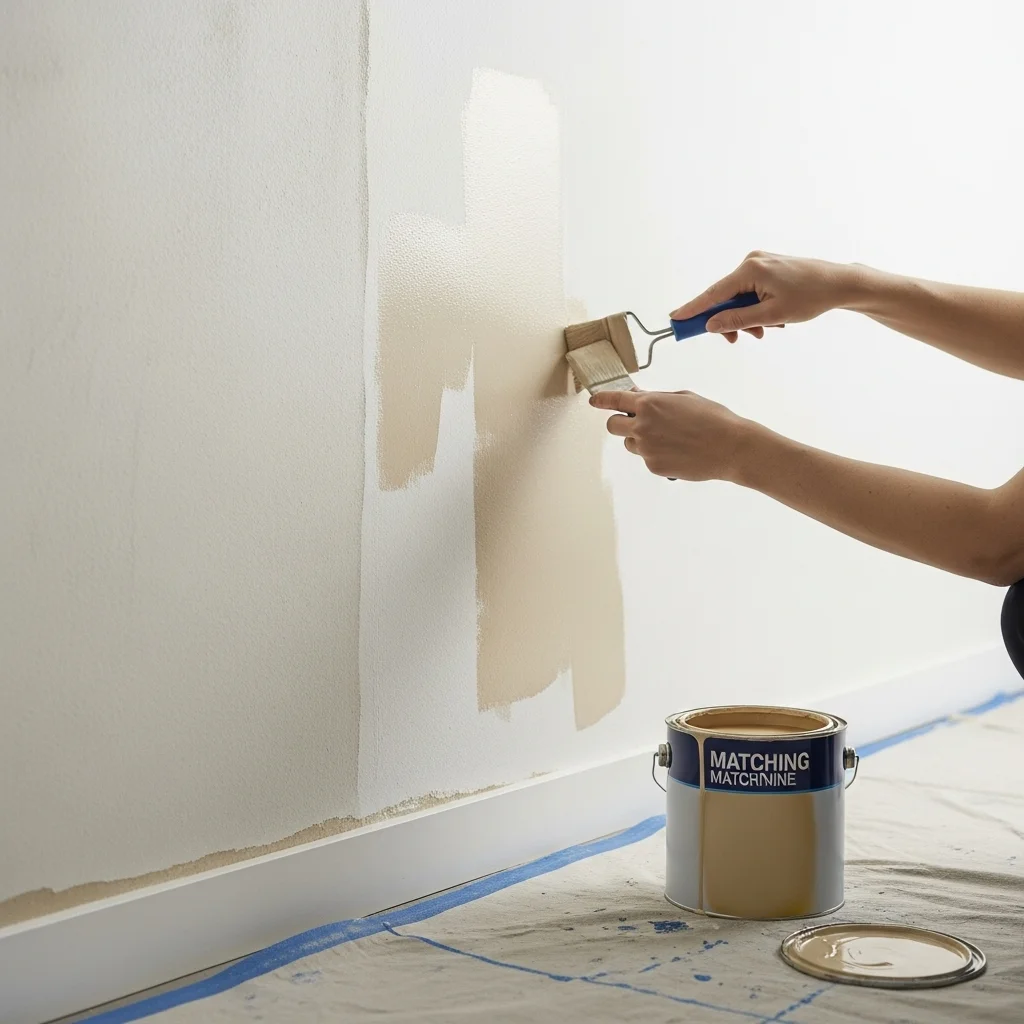
Match your existing paint in color, brand, type, and finish. Differences in sheen — like semi-gloss versus matte — can make even perfect repairs stand out. If you’re unsure, test a small patch first.
This technique brings precision to how to fix paint chips on wall projects, making the repair invisible. Matching the finish correctly allows the newly painted area to reflect light the same way as the surrounding wall, creating true uniformity.
10. Feather the Paint Edges for Seamless Blending
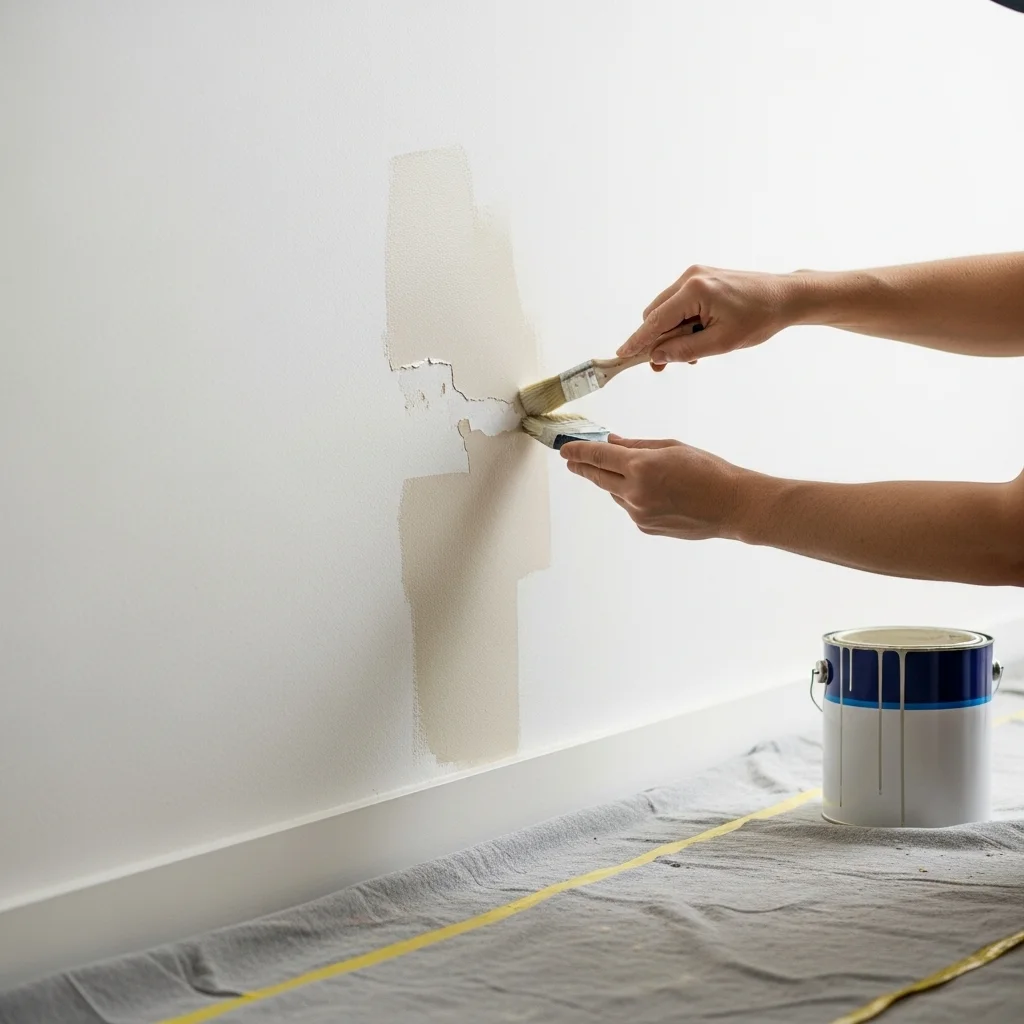
When applying paint, use soft, light strokes to blend the edges outward. Feathering prevents harsh lines and helps the new paint merge with the old. Use a small brush or foam applicator for better control.
This blending method enhances the thoughtful artistry behind painted wall repair, creating soft transitions that harmonize with the existing paintwork. Feathering makes the repair smooth, cohesive, and virtually undetectable.
11. Add a Second Coat of Paint if Needed
Sometimes a single coat isn’t enough to cover the repaired area, especially if the original wall color is dark or richly pigmented. Apply a second coat using the same feathering technique, keeping your strokes light and intentional. Allow each layer to dry fully before applying the next to avoid streaks or uneven shine.
This step highlights the patient precision at the heart of repairing chipped paint, ensuring the repaired spot blends perfectly into the rest of the wall. Layering paint slowly builds up opacity and smoothness, creating a finish that looks soft, polished, and professionally done.
12. Match the Texture of the Wall if Necessary
Some walls have slight textures like orange peel, knockdown, or subtle stippling. If your wall isn’t perfectly smooth, use a sponge, texture spray, or stippling brush to recreate the pattern before painting. Even light texture differences can make a repair visible, so this step ensures visual consistency.
This technique aligns with the meticulous nature of DIY wall repair techniques, helping your repair blend into the wall’s natural character. Matching texture adds authenticity, making the repaired area feel like it has always belonged within the wall’s original design.
13. Touch-Up Edges With a Fine Brush
Once the main paint layer is dry, examine the area closely under different lighting angles. If you see subtle lines or edges, use a fine detailing brush to gently soften and perfect them. These small adjustments create a seamless repair.
This idea reflects the attentive thoughtfulness behind patching damaged paint, where tiny refinements make a major difference. Touching up with care helps the wall appear smooth and uninterrupted, restoring visual harmony to the entire surface.
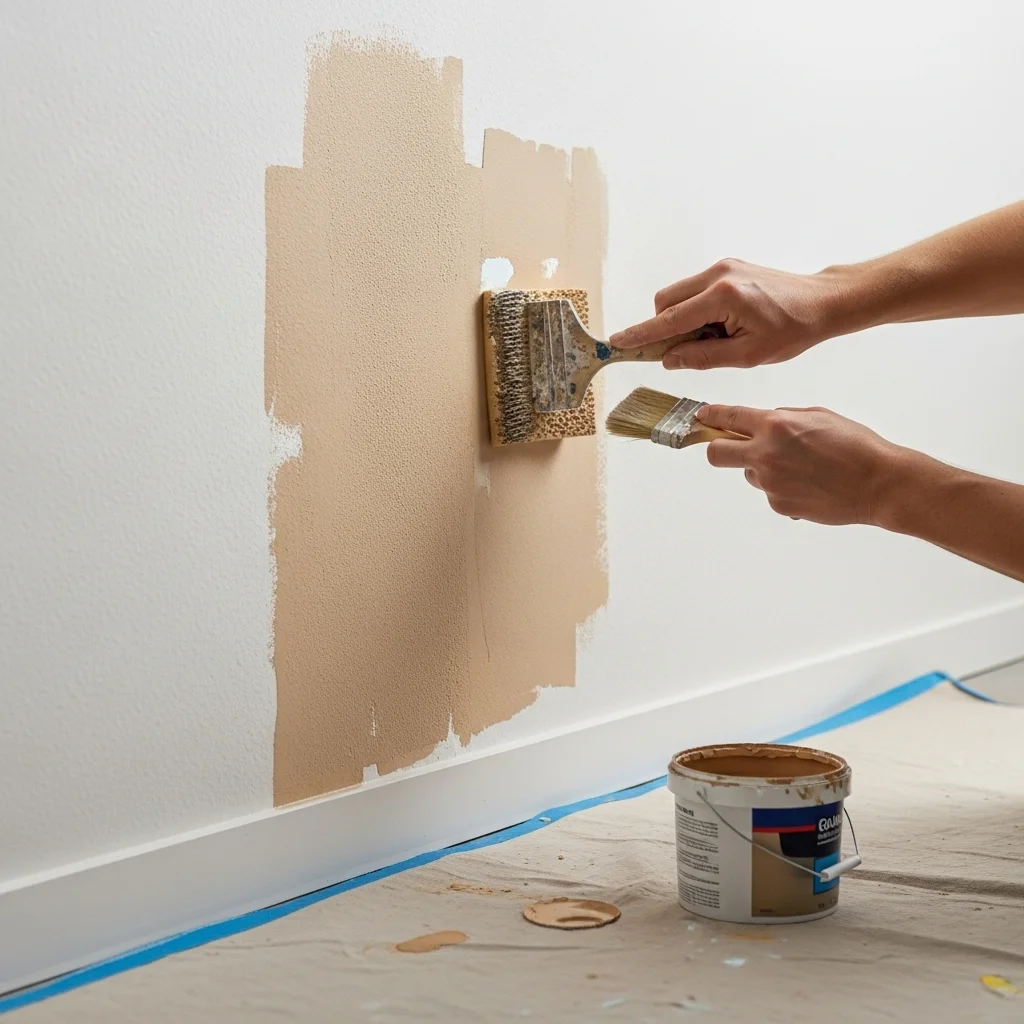
14. Blend the Repaired Area With a Larger Roller
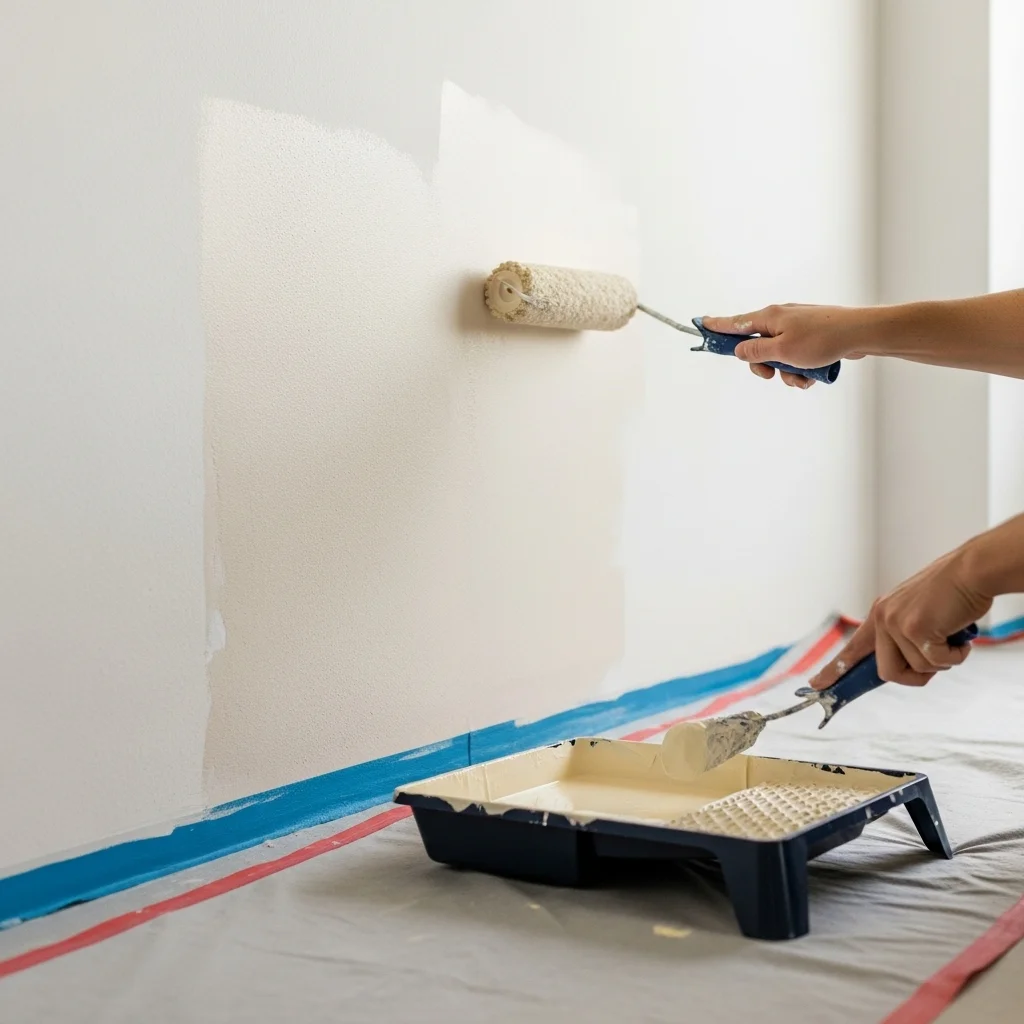
For larger chips or widespread repairs, sometimes using a roller over the entire section — not just the chip — creates better blending. Roll the paint lightly over a wider area to soften transitions and ensure even texture.
This technique enhances the integrative flow central to how to fix paint chips on wall surfaces, allowing the new paint to merge naturally with the old. By expanding the painted area slightly, you eliminate borders and create a uniform, flawless finish.
15. Prevent Future Chips With Proper Care
After your repair is finished, keep the wall clean and avoid placing furniture too close or bumping into the surface. Consider using high-quality paint for future repainting projects, as better formulas resist peeling, cracking, and chipping. Proper humidity control also helps maintain paint longevity.
This final tip reflects the long-term mindfulness behind wall surface preparation, ensuring your walls stay smooth and beautiful for years. Preventative care supports durability and maintains the soft, finished look you’ve just worked hard to achieve.
Final Thoughts
Fixing paint chips on your walls doesn’t need to feel overwhelming — with patience, proper tools, and intentional steps, you can restore your walls to a smooth and flawless finish. These cinder block paint ideas (correct to: how to fix paint chips on wall ideas) offer a path toward refreshing your space with care, precision, and confidence. Repairing chipped areas is more than a cosmetic update; it’s a way to renew harmony, clarity, and order in your living environment.
The magic of repairing chipped paint lies in the transformation. What once felt distracting or messy becomes clean, soft, and beautifully unified. With each step — sanding, filling, priming, and painting — you rebuild a small part of your home’s comfort. This attention to detail nurtures a sense of calm and pride, allowing your walls to reflect the serenity and style you desire.
Whether you’re fixing one small chip or several imperfections across a room, these techniques help you create a polished, professional-looking result. Your walls regain their smoothness, your colors regain their richness, and your home regains its sense of completeness.
FAQs About Fixing Paint Chips on Walls
Q1: Why does paint chip in the first place?
Paint often chips due to moisture, low-quality paint, improper priming, or physical impact. Identifying the cause helps prevent future problems.
Q2: Can I fix paint chips without sanding?
Light chips may sometimes be repaired without sanding, but sanding usually ensures smoother, longer-lasting results.
Q3: How do I match paint if I don’t know the color?
Take a small paint chip to a hardware store for color matching, or test small samples on the wall until you find the perfect match.
Q4: Should I patch or repaint the whole wall?
For isolated chips, patching is fine. But if the wall has numerous chips or aging paint, a full repaint may give more consistent results.
Q5: What’s the best filler for chipped paint?
Lightweight spackle is ideal for most repairs. Use wall filler or joint compound for larger or deeper damages.